
Grout 101: Everything you need to know when it comes to grout
Grout: The Detail That Can Completely Change Your Tiles
So, you've finally taken the plunge and purchased the dream tiles you've been eyeing for months. Congratulations. Cue the realisation that you now have to make approximately seventeen more decisions about how those tiles are actually going to be installed. What grout colour? What grout width? Should you use spacers? Sanded grout or epoxy? And does the grout really make that much difference? The answer to that last question is absolutely.
Grout might seem like a small detail in the grand scheme of a renovation, but it can completely change the way your tiles look and, ultimately, the way the entire room feels. The same tile installed with a soft, tonal grout can look entirely different from that same tile installed with a contrasting grout. Our philosophy is pretty simple: let the tile be the hero.
Match the Tile or go a Little Lighter
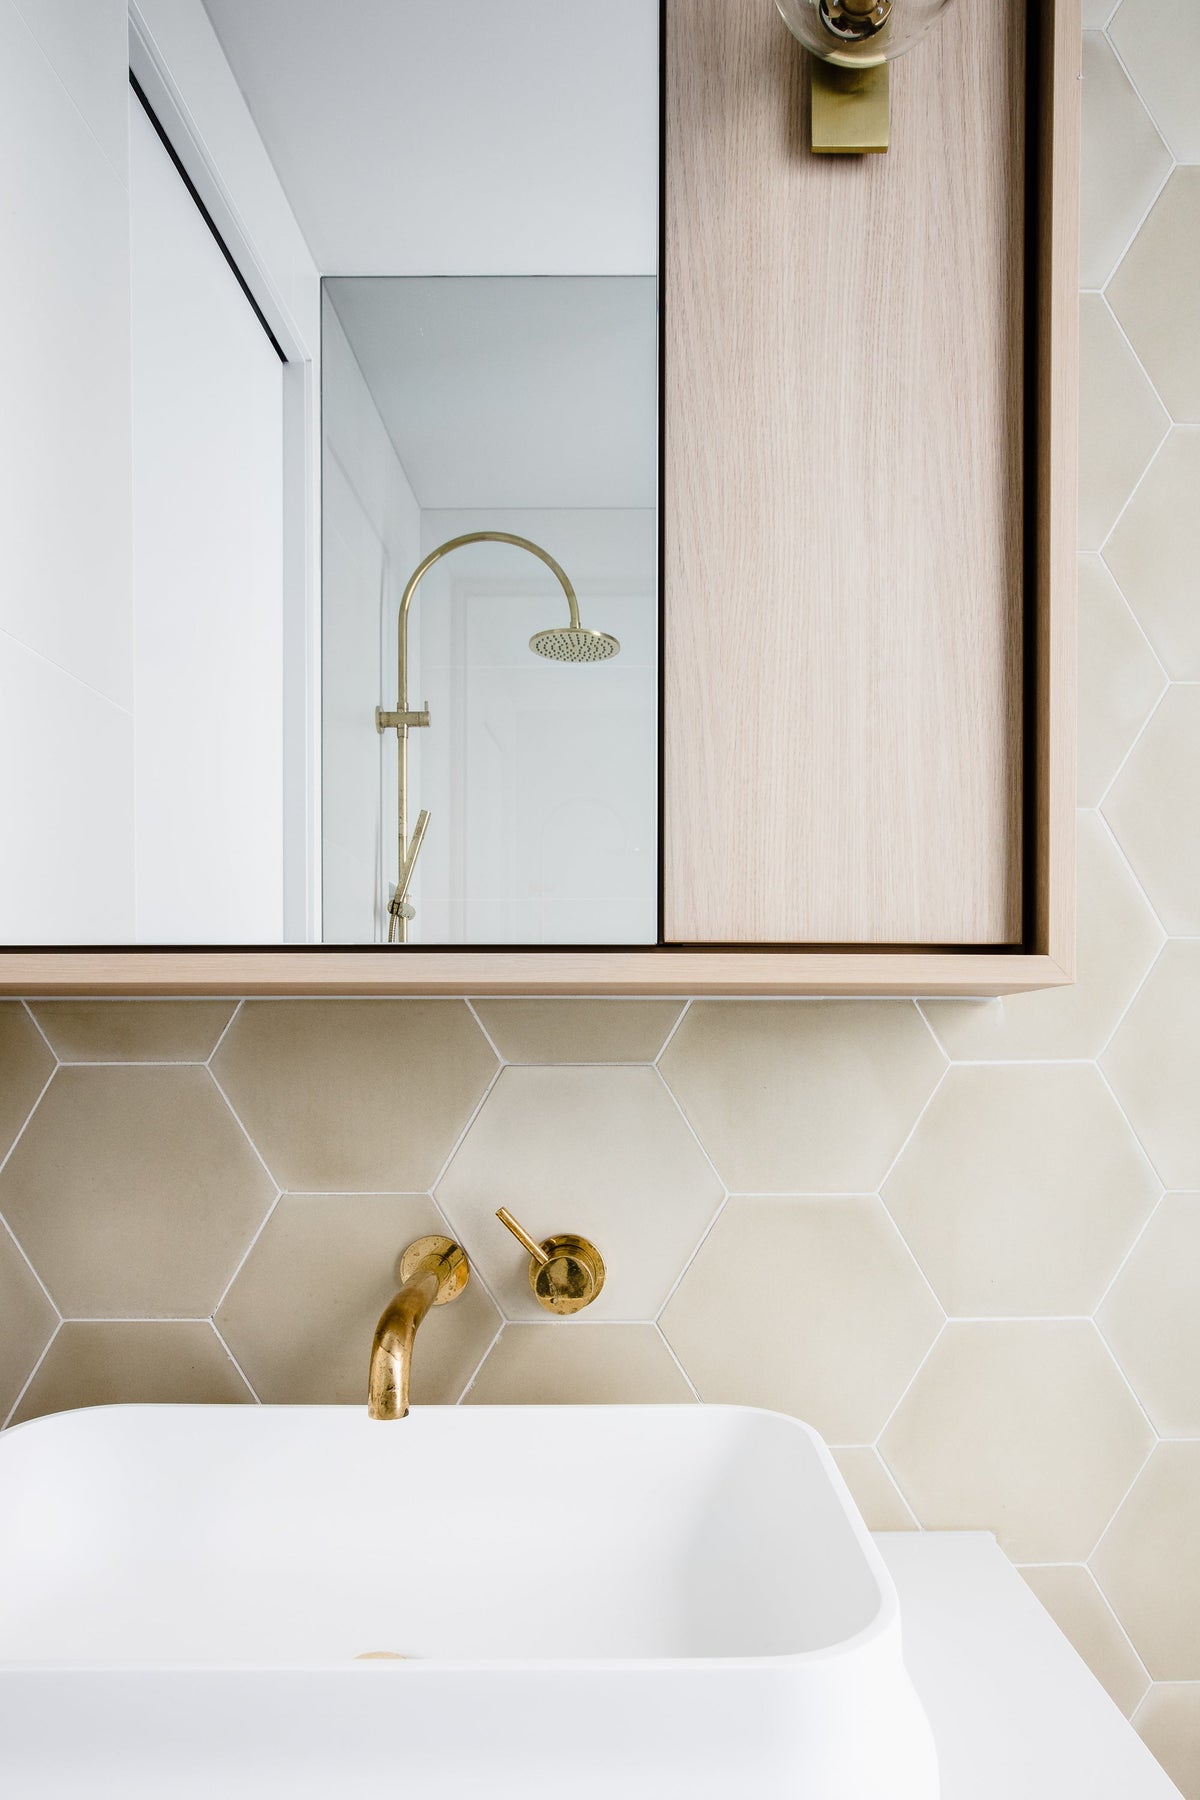
When it comes to grout colour, our personal preference is almost always to match the tone of the tile or go slightly lighter. Our handmade and natural stone tile ranges already have so much going on. They have variation, movement, texture, tonal shifts, irregular edges and all those beautiful little imperfections that make them feel alive. We don't want the grout competing with any of that.
When the grout blends into the tile, your eye reads the surface as a whole. You still see the individuality of each tile, but the overall effect feels soft, cohesive and considered. When you introduce a strong contrasting grout, suddenly your eye starts following the grout lines instead. You see the grid. You see the pattern of the installation. You see the grout before you see the tile, and that is usually not what we want.
A different grout colour can completely change a room. It can make a tile feel more graphic, more structured and more contemporary, but it can also take away from the beauty and features of the tile itself. When you've invested in a beautiful handmade tile, we want your eye to land on the tile, not the grout. This is why our rule of thumb is simple: match the tile or go a tone lighter. Of course, there are no grout police. If you are intentionally trying to create a graphic, architectural or highly patterned look, a contrasting grout can be a fantastic design tool. It is simply a very different aesthetic from the one we personally love.
So... How wide should your grout lines be ?
This is where things get interesting, because there really isn't a universal “correct” grout width. Traditionally, Zellige and Moroccan mosaics are installed with very small grout joints, often around 1 to 3mm // 1/16 to 1/8 inch. This allows the tiles to sit closely together and creates that beautiful, almost continuous surface where the variation and irregularity of the individual tiles really come to life. But we have also been experimenting with much wider grout lines, and we have created some incredibly beautiful results. 5mm - 3/16", 8mm - 5/16", even 10mm -3/8" can completely change the personality of a tile. Instead of trying to make the grout disappear, you can actually make it part of the design.
A wide grout joint can create rhythm, structure and a really beautiful graphic quality. It can make the individual shape of a tile much more pronounced and give a traditional handmade tile a completely different, more architectural feeling. So, is there a right or wrong? Not really. There is simply a different aesthetic. If you want the tiles to feel soft, organic and almost continuous, keep the grout lines narrow. If you want to emphasise geometry and create a more architectural pattern, widen them. The same tile with a 2mm grout joint can have a completely different outcome to the same tile installed with a 10mm grout joint, and even when you go wide, our same rule applies. Match the tile or go a tone lighter. That way, the width of the grout becomes part of the design rather than the colour of the grout competing with the tile.
Do I need to Grout?
Technically, you can choose not to grout, and as with everything in design, our opinion is that it ultimately comes down to personal preference. We have seen some incredible installations where the tiles have been laid without traditional grout, and the result can be wonderfully raw and tactile. That said, we will always recommend grouting. Aside from the aesthetic benefit, grout serves an important practical purpose. Without grout, dust, dirt and debris can become trapped between the tiles, making the surface much more difficult to keep clean. Grouting also brings an installation together. It takes the tiles from feeling raw and individual to feeling cohesive, considered and complete. There is something about a beautifully grouted tile installation that gives the entire surface a sense of elegance and intention. So while there is no absolute rule that says you must grout, our preference is almost always to do so. The right grout, in the right colour and at the right width, should feel like the finishing touch that allows the entire installation to come together beautifully.
A note on our Moroccan Zellige Mosaic Sheets.
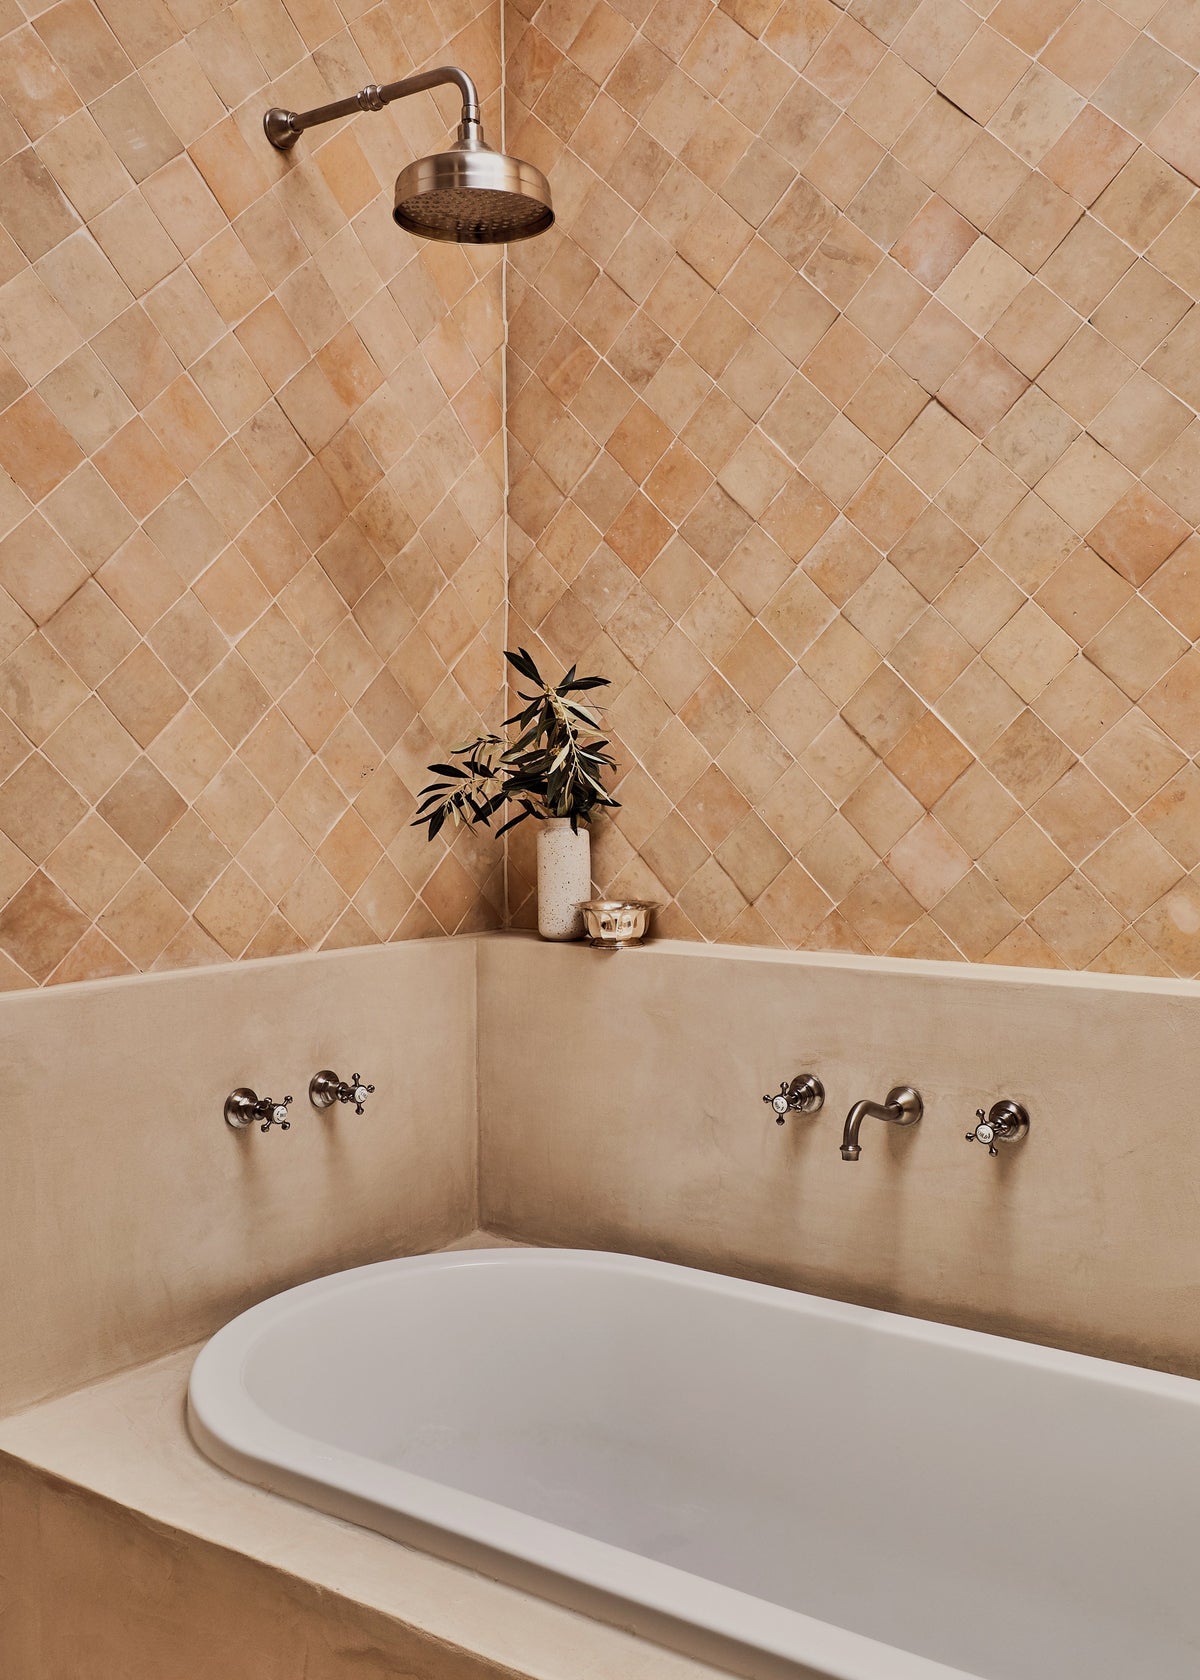
This principle is particularly important when working with our Moroccan Zellige mosaics. When you receive a preassembled Moroccan Zellige mosaic sheet, it will arrive ungrouted, and when you first see the sheets laid out, they may look a little unfinished. The sheets are designed to be installed first and then grouted across the entire surface. Once grouted, the individual mosaic pieces come together to read as one beautiful, cohesive field of handmade Zellige rather than a collection of individual squares. The grout becomes the element that visually joins the pieces together and allows the surface to feel complete. The mosaic Shines when it is grouted, its unbelievable to see the difference between pre and post grout. So don't panic when your sheets arrive and they look a little raw. The installation isn't finished yet. The magic happens once the sheets are installed, grouted and the entire surface comes together as one.
What About Tile Spacers?
With handmade Zellige, some variation in spacing is part of the beauty. These aren't perfectly machined tiles designed to create a completely rigid, computer generated grid. They are handmade, and their individuality is part of what makes them so special. Traditionally, Zellige is often installed with very minimal grout lines. However, if you're intentionally creating a wider and more structured grout pattern, spacers can help achieve consistency and precision. The important thing is to decide on your desired grout width before you begin. Don't leave this decision to the tiler halfway through the installation. Grout width is a design decision, not simply an installation detail.
*Spacers and Preassembled Moroccan Zellige Mosaics
When installing our preassembled Moroccan Zellige mosaic sheets, the way the sheets are spaced is just as important as the grout itself. The individual mosaic pieces are assembled onto sheets for ease of installation, but the finished result should never look like a collection of individual square sheets placed next to one another.
When installing, we recommend that the tiler spaces the sheets to replicate the grout width used within the mosaic itself. In other words, the gap between one sheet and the next should flow seamlessly with the existing grout lines between the individual mosaic pieces. This allows the grout to run continuously across the entire installation and makes the individual sheets disappear once the surface has been grouted. The finished result should read as one continuous field of handmade Moroccan Zellige, rather than a series of visible square panels. It is a small installation detail, but it makes a huge difference to the finished result. The goal is for the sheets to disappear and the mosaic to become the hero.
Sand Grout, Regular Grout, or Epoxy?
Now we get into the slightly less glamorous side of grout, but this is important. Not all grout is created equal, and the right choice depends on the application, the tile and the level of performance you need.
Sanded grout contains fine aggregate and is commonly used where a wider grout joint is required. It is strong, durable and generally a more economical option. It also has a slightly textured, natural appearance that can work beautifully with handmade tiles. The downside is that it isn't suited to every narrow grout joint, and the aggregate can be abrasive depending on the surface of the tile, so you need to make sure it is appropriate for your particular product.
Traditional un-sanded grout is smoother and is generally used for narrower grout joints. It is easier to work into very fine spaces and creates a clean, refined finish. However, it isn't designed for every application or wider grout joint and may not offer the same strength required in certain environments.
Then there is epoxy grout. Epoxy is the high performance option and has some very significant advantages. It is highly stain resistant, extremely durable and has excellent resistance to moisture and many chemicals. In areas where you need a very hard wearing, easy to clean grout, it can be an excellent choice. But there is a big however when it comes to beautiful handmade tiles and, particularly, floors. Epoxy grout is incredibly strong. Once it has cured, it doesn't have the same forgiving qualities as a traditional cement based grout. If you ever have an issue with a tile underneath it and need to remove or replace that tile, you can be in for a serious job. Because the epoxy is so strong, you may essentially have to rip up the surrounding floor to get the tile out without causing damage.
Other types of grout can be more forgiving. They allow for a little more movement and, should a tile ever need to be removed, the process can be considerably more manageable. So while epoxy can be fantastic for certain applications, we wouldn't automatically recommend it simply because it is the strongest option. Strongest doesn't always mean best - grout selection completely depends on the room, the usability the space and the Tilers own professional ex[erience and opinion. You need to consider the entire life of the installation, not just how it performs on the day it is installed.
What About Dark Grout?
We get asked about this one a lot. “Should I use a dark grout because it will hide dirt?” Our answer is generally no. When the grout is significantly darker than the tile, it tends to become a feature in itself. Instead of seeing the beautiful variation and texture of the tiles, your eye is drawn to the lines between them. And ironically, dark grout isn't necessarily the solution to keeping a space looking clean. Grout still needs to be maintained, regardless of colour. We would much rather choose the right tonal grout for the tile and maintain it properly than select a dark grout purely to disguise dirt. Again, our philosophy comes back to the same thing: let the tile shine.
A Note on Grouting Tiles With Crazing
Crazing is one of the beautiful characteristics of certain handmade glazed tiles, but it does require a little extra care when it comes to grouting. Because the fine crazing lines run through the glaze, grout can potentially penetrate into these tiny cracks and become visible within the surface of the tile. This is one situation where slow and steady really does win the race.
Before grouting, the front face of the glazed tile should be sealed with a suitable sealant to help prevent the grout from penetrating the crazing - usually a non enhancing penetrating sealer - Refer to our Specification Sheets for Sealer information. It is important that the correct sealant is selected for the specific tile and glaze, and that you allow the sealant to fully dry and cure according to the manufacturer's instructions before any grouting takes place. Do not rush this part of the installation. Taking the extra time at this stage can make a significant difference to the finished result.
We would also be particularly firm about grout colour in this situation. Never introduce a strong contrasting grout colour when working with a crazed glaze. If any grout does make its way into the crazing lines, you want it to blend seamlessly with the tile rather than highlighting every individual line. Our recommendation is to choose a grout that closely matches the body or glaze of the tile, or is slightly lighter.
As for sealing over the finished surface, this is not something we would recommend as a blanket rule. Whether an additional sealer is appropriate depends entirely on the specific tile, glaze and sealer being used. In some cases, applying another product over the surface can alter the appearance or finish of the glaze. Always check with the tile and sealer manufacturer before applying anything over the completed installation.
The golden rule with crazing is simple: prepare properly, choose your products carefully and take your time. A little extra care before you grout is far easier than trying to correct grout that has already made its way into the crazing.
A Note on Unglazed Tiles
When installing unglazed or porous tiles, it is important to consider sealing the tile before grouting where the tile and sealant manufacturer recommends that this is appropriate.
The reason is simple. A suitable pre seal will be crucial to preventing grout from soaking into or adhering to the surface of the tile, making it easier to remove the grout after installation.This is particularly important with porous materials where grout residue can otherwise become very difficult to remove. Its the last thing we want.
With Zellige and Moroccan mosaics, however, we also think it is important to understand what makes the product beautiful in the first place. The inconsistency, the variation, the tonal movement and the little imperfections are all part of the charm.
Personally, when grouting Moroccan mosaics, we have never been fixated on ensuring that every single trace of grout is removed from every corner and edge of the tile. I actually quite like a little grout remaining in certain corners. I think it can add to the overall character of the installation, We also suggest and use the grout to assist with filling in any chips in the surface or Lime pops that may be on the tiles surface - this is what makes this style of tile so incredibly charming and enduring when installed. There is, of course, a difference between beautiful imperfection and poor installation. One is intentional. The other isn't.
Can you re-grout Old Tiles?
Technically, yes, but it isn't always as simple as it sounds. To properly re grout an existing tiled surface, the old grout needs to be removed to a sufficient depth so that the new grout has enough space to adhere properly. Simply applying a new layer over the top of old grout isn't going to give you the result you're looking for. It can be a labour intensive process and there is always the risk of damaging the edges of the tiles during grout removal. This is why we always say that grout is worth thinking about properly before you start. It may feel like a small decision at the beginning of a renovation, but once those tiles are installed, your grout is going to be there for a very long time.